
Understanding the Shape and Structure of Fort Duffield
Fort Duffield’s design reflects the urgency and ingenuity of late 1861. Built in just ten days by the
9th Michigan Infantry and 1st Wisconsin Infantry, the fort’s layout, cannon angles, interior spaces,
and winter adaptations reveal how soldiers transformed a rugged Kentucky ridge into a functioning
defensive position.
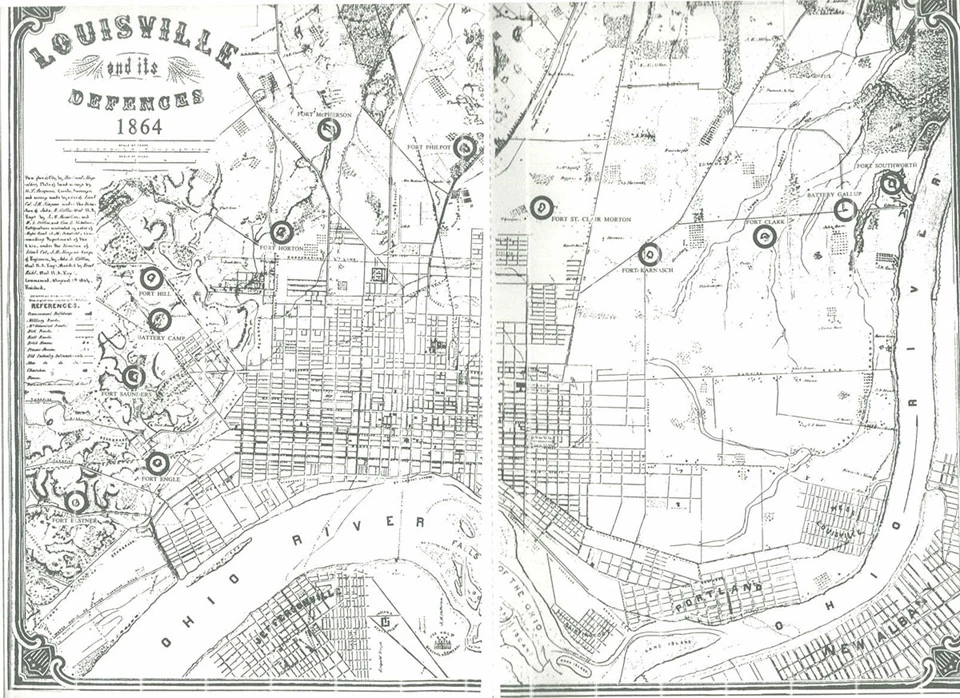
Louisville Defenses — 1864
Louisville was one of the most heavily fortified cities in the Western Theater. By 1864, a complete
ring of forts, batteries, and rifle pits surrounded the city. Fort Duffield, though built earlier in
1861, served as a forward outpost guarding the river landing and turnpike feeding Louisville’s defenses.
Ten Angles of Fire
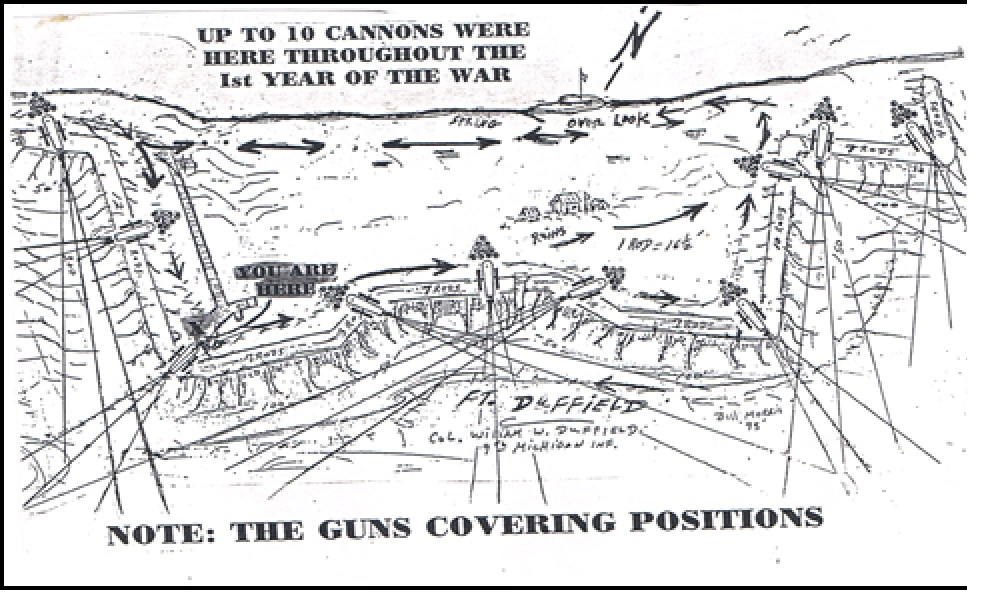
Fort Duffield was engineered with ten distinct angles of fire, allowing its cannons to
sweep the turnpikes, river approaches, and ravines below. This defensive geometry dictated the fort’s
zig‑zag shape.
— Lt. Col. William H. DeLand, 9th Michigan Infantry
How the Earthenworks Were Built
The engineering diagram below shows how Fort Duffield’s earthworks were originally constructed in
November 1861. Soldiers cut earth from the ridge and carried it in blankets, baskets, and grain sacks.
They packed the soil into parapets reinforced with logs and brush, following U.S. Army field‑fortification
standards.
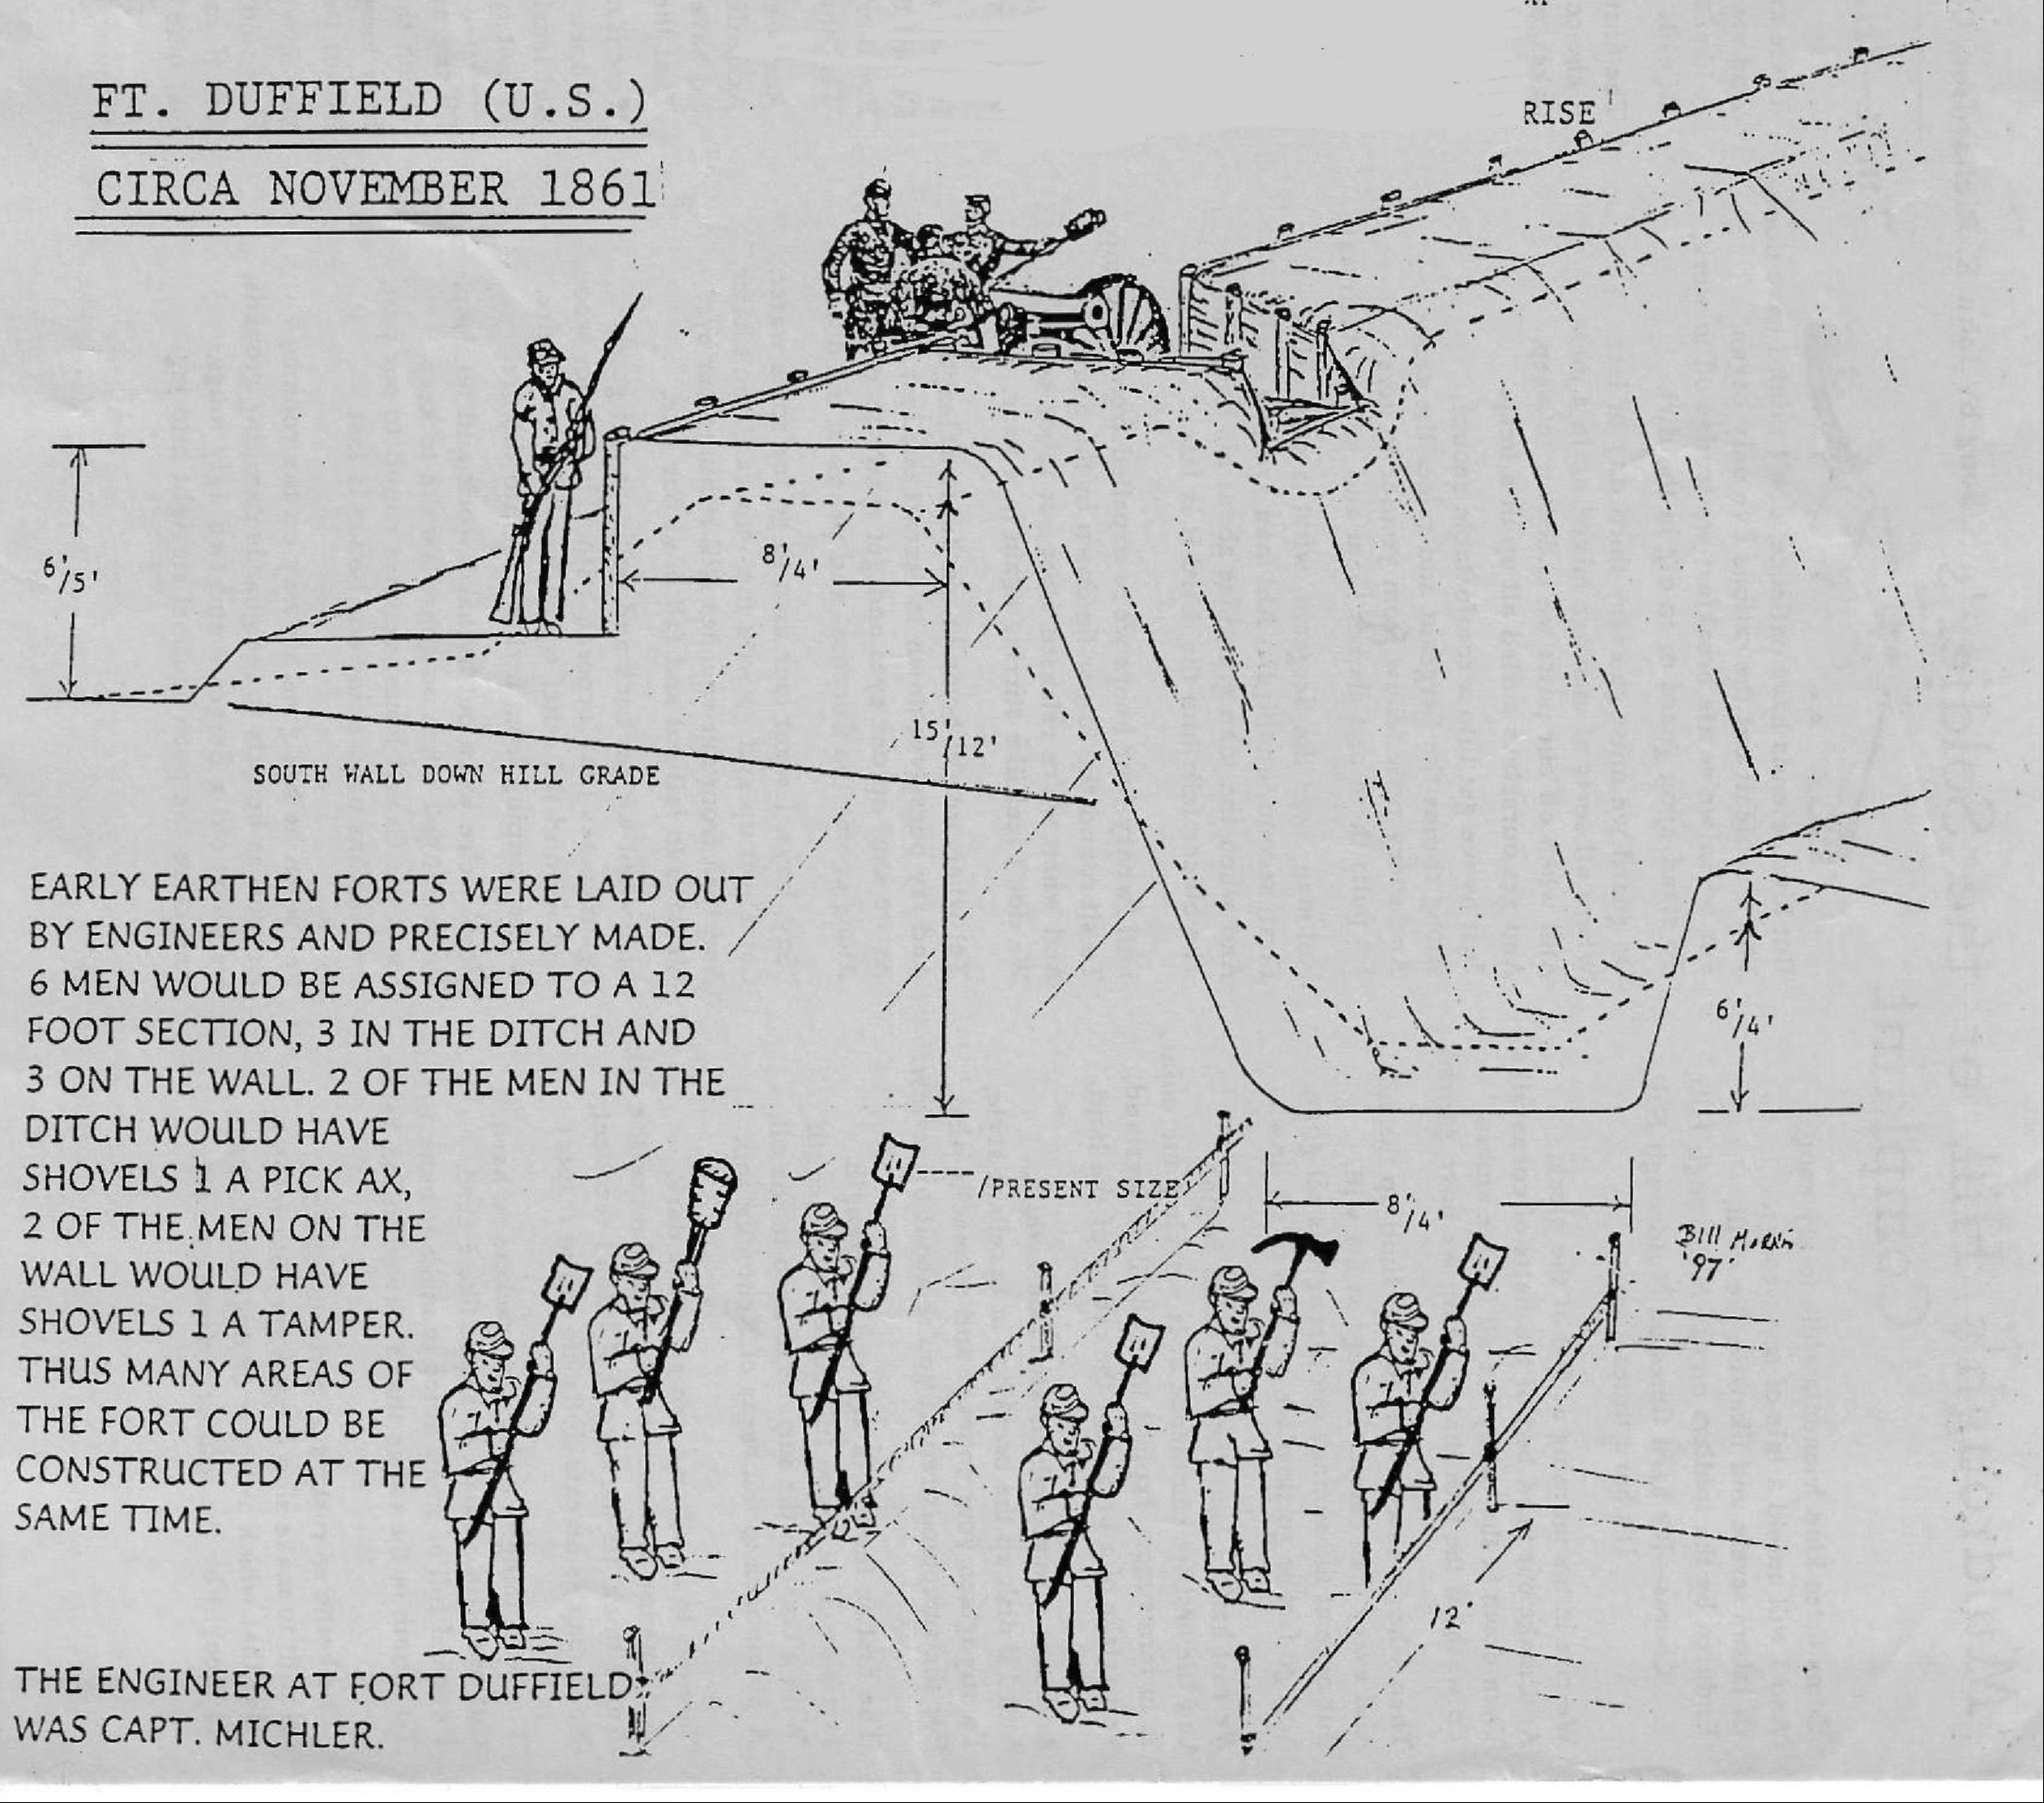
The zig‑zag shape of the walls was intentional: each angle created a new field of fire for the fort’s
ten cannon positions. The outer ditch and sloped glacis slowed attackers and exposed them to fire.
Timber‑braced gun platforms allowed artillery to sweep the turnpike, river landing, and ravines below.
Interior Layout of the Fort
This top‑down diagram shows the interior layout of Fort Duffield. It highlights the open parade ground,
walkways, and movement corridors connecting the cannon platforms. This was the daily working space
inside the fort.
Central Area — Parade Ground & Officer Space
The diagram below shows the central area as interpreted in the walking tour. This open space served as
the fort’s parade ground, drill field, and ceremony area. Officers occupied the upper end of the ground,
overseeing formations and daily routines.
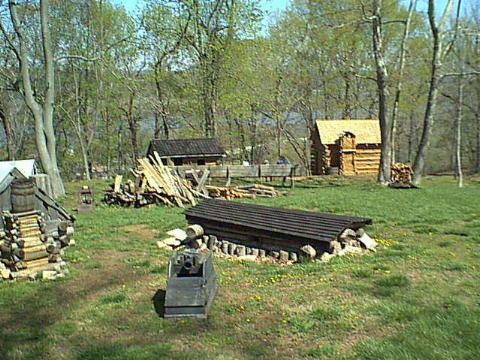
Rows of huts housed squads of soldiers. The open center allowed movement between hut rows, access to
cannon platforms, and space for camp maintenance. This was the living heart of Fort Duffield during the
winter of 1861–62.
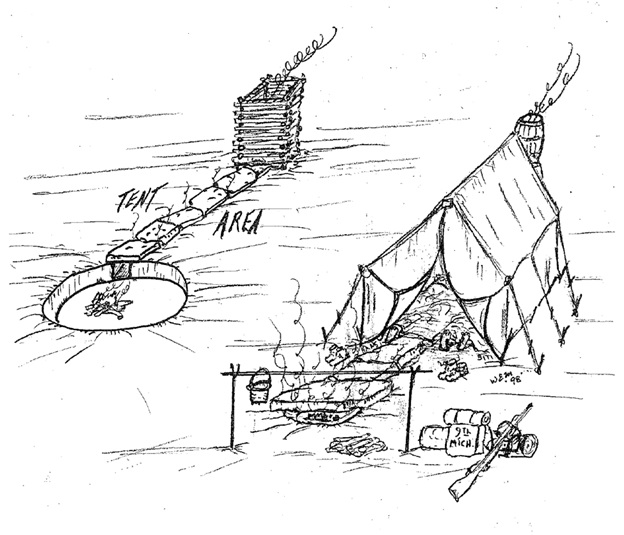
Crimean Oven — Winter 1861–62
During the brutal winter of 1861–62, soldiers constructed Crimean-style ovens to
provide heat and cooking capability. These simple earth-and-stone structures were vital during the
measles and pneumonia outbreak.
Origins & Construction Timeline
Next: 1981 Reconstruction Map