Station Four — Cannons
Featuring the Pick‑Ax Incident
From this position, Union artillery crews could sweep the surrounding valleys,
turnpikes, and river approaches with devastating fire. The fort’s ten angles were
engineered with precision, ensuring that no enemy could approach without being exposed
to infantry and cannon fire.
Historic View
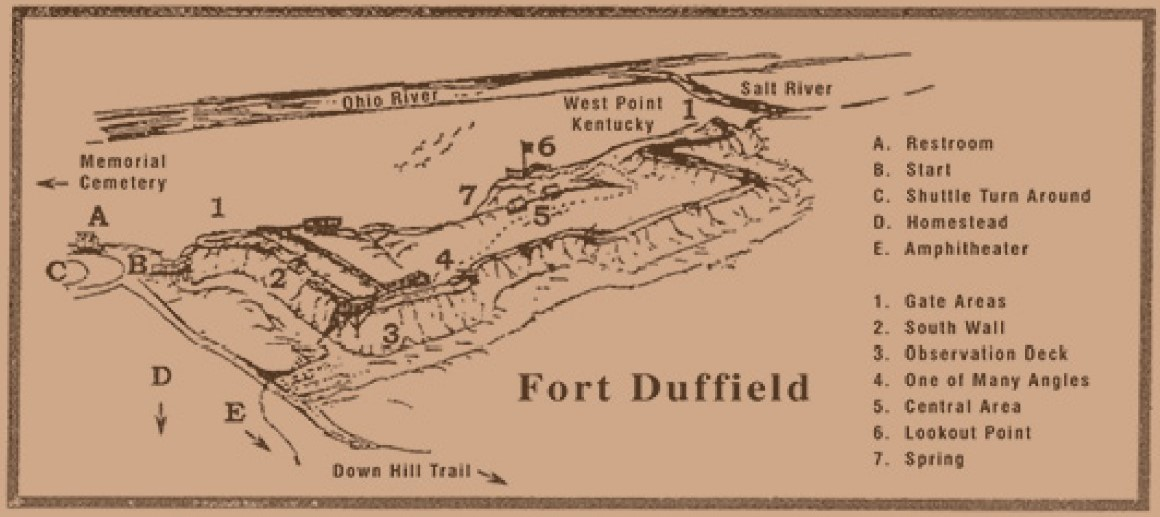
Walking Tour Map
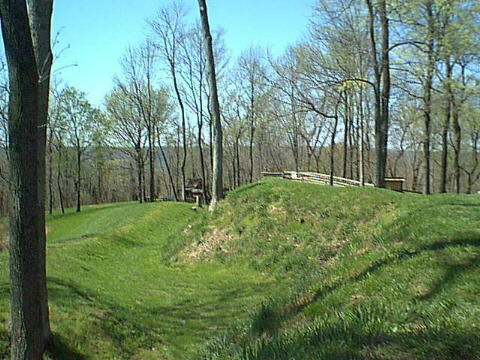
engineered to allow infantry and artillery to sweep every inch of ground in front
of the walls. As Captain DeLand wrote, “every gun in the fort will sweep the
turnpikes and rivers with shot and shell for three miles.”
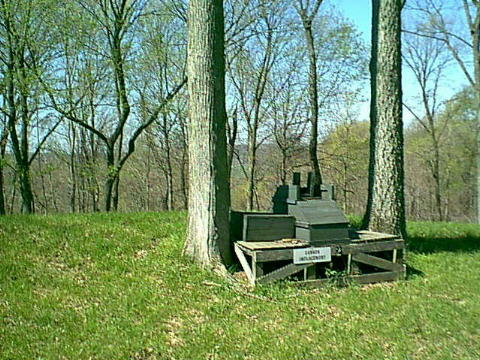
the ability to deliver all‑around covering fire toward the many back roads and southern
approaches to Fort Duffield. Although the 9th Michigan Infantry was an infantry regiment,
they initially manned their own artillery pieces during the early months of the war.
In March 1862, Captain Charles H. Lamphere’s Battery G, 1st Michigan Light Artillery,
arrived to take over the guns.The primary weapon used here was the 6‑pound smoothbore cannon, a dependable
field piece ideal for defending steep slopes and open approaches. One rifled cannon
was also present — likely the Stuckey Gun or a similar experimental piece.
Artillery Layout Diagram
                     North
                       ↑
                       |
        West ←─────────┼─────────→ East
                       |
                       ↓
                     South

                 [ Fort Duffield ]
        -------------------------------------------------
        |                                               |
        |   • 10 Angles of Fire                         |
        |   • 6‑pound smoothbores behind each angle     |
        |   • 1 rifled cannon (experimental)            |
        |                                               |
        |   • Ammunition Bunker (East Interior)         |
        |   • Officers’ Cabins (East Interior)          |
        |   • Enlisted Tents (West Interior)            |
        |                                               |
        -------------------------------------------------
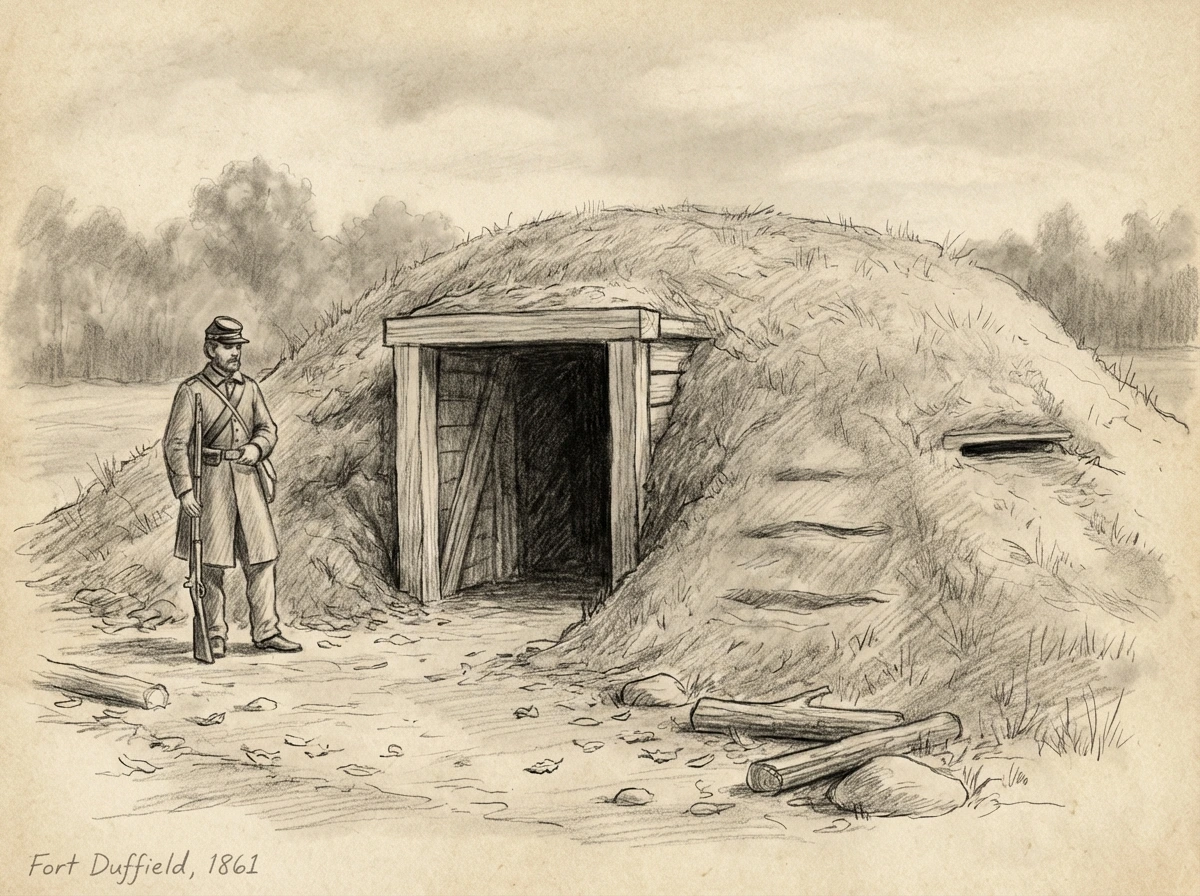
Ammunition Bunker
The ammunition bunker was located on the east interior side of the fort — the safest
position, far from open flames, the cooks’ area, and the latrine. It was dug into the earth,
timber‑lined, and covered with several feet of packed soil to protect powder and projectiles
from sparks, moisture, and enemy fire.
No surviving document specifically describes an ammunition bunker at Fort Duffield. However,
U.S. Army regulations required every fortified position with artillery to construct a powder
magazine. Based on those regulations — and on how similar 1861 earthworks were designed — the
most likely location for Fort Duffield’s bunker is the east interior side. While the
exact spot is unknown, the structure described here reflects standard Union engineering practice
during the winter of 1861–62.
Dimensions
- Length: 25–35 ft
- Width: 10–14 ft
- Interior Height: 7–8 ft
- Earth Cover: 3–6 ft of packed soil
- Construction: Timber walls and roof, clay‑sealed seams, baffled ventilation
Ammunition Capacity
- 600–1,000 rounds for the fort’s artillery
- Separate storage bays for powder kegs and projectiles
- Friction primers stored in a sealed, spark‑proof container
Powder Storage
- 1,000–1,250 lb of powder
- 40–50 kegs of black powder
- Each 6‑pounder charge used 1.0–1.25 lb of powder
Projectile Types
- Solid Shot: round iron balls for smashing fences, wagons, and fortifications
- Case Shot: thin‑walled shells filled with musket balls and a timed fuse
- Canister: tin can filled with iron balls — a giant shotgun blast
- Rifled Shells: elongated projectiles used only in the rifled cannon
Artillery at Fort Duffield
Fort Duffield’s ten artillery angles were engineered to command the southern approaches
to West Point. Although many visitors imagine the fort’s guns aimed at the Ohio River,
the fort was never designed for river defense. The 300‑foot cliff behind the fort made
a northern attack impossible, and no Confederate force ever approached from that direction.
Who Manned the Guns
During the early months of the war, the 9th Michigan Infantry manned their own
artillery pieces — a common practice in 1861 before trained artillery units were widely
available. In March 1862, they were relieved by Battery G, 1st Michigan Light Artillery
under Captain Charles H. Lamphere. This is the only documented federal artillery unit
assigned to Fort Duffield.
Where the Cannons Pointed
All ten gun positions were built into the southern earthworks. The fort’s artillery
covered the roads and valleys leading from Confederate‑held central Kentucky. The steep
cliff behind the fort made a river attack impossible, so no gun platforms were constructed
to face the Ohio River.
Could the Cannons Be Turned Toward the River?
A 6‑pounder smoothbore could be shifted slightly by hand, but the fort’s gun platforms
were not designed for 180‑degree rotation. No letter, diary, or military report
mentions the guns ever being turned toward the river, and the terrain made such a move
unnecessary.
The Indiana‑Side Artillery Story
For many years, local tradition in West Point has included a story about Union forces on
the Indiana side of the Ohio River firing a warning shot toward a house where Confederate
sympathizers were meeting. Until recently, no surviving federal military record confirmed
artillery being positioned across the river.
However, a contemporary source — the Corydon Democrat (November 26, 1861) — reported that
a company of the Indiana Legion under Capt. Knapp constructed temporary field works on the
Harrison County bluff opposite the mouth of Salt River. The article noted that these works
included small field pieces and that the position “commanded the town of West Point.”
According to the same report, the battery fired at least one shot toward a house in West
Point during a tense early‑war encounter.
These Indiana Legion works were state militia fortifications, not part of the U.S. Army’s
defensive system and not connected to Fort Duffield. Their existence helps explain why
early accounts sometimes mention “guns across the river,” even though no federal artillery
was ever positioned on the Indiana shore.
Artillery Timeline
- Sept–Dec 1861: 9th Michigan Infantry mans its own guns.
- Winter 1861–62: Six to seven guns reported; one rifled piece experimental.
- March 1862: Battery G, 1st Michigan Light Artillery arrives and assumes control.
- 1862 onward: Ten angles of fire maintained; all guns oriented south.
Why Soldiers Mentioned 6 or 7 Guns
Letters from the 9th Michigan vary between six and seven cannons.
This is normal for early‑war forts. The number changed because:
- Guns arrived at different times
- One rifled cannon was experimental and not always counted
- Some letters were written before all guns were mounted
- Artillery was sometimes temporarily moved for testing or repair
By early 1862, the fort had ten angles of fire and enough artillery to cover them,
though not every angle always had a gun mounted at the same time.
Related Research
What Happened Here
During the early months of the war, this ridge was not only a line of earth and cannon,
but a place of sudden, close‑in danger. The “Pick‑Ax Incident” recalls one of those tense
moments, when soldiers fought frozen ground, failing light, and the threat of attack all
at once.